As a visitor to a picdrop gallery, you have various options of communicating with your photographer about your pictures. Below we explain our three tools for collaboration, so that you can get started right away:
You will find detailed instructions in the following sections.
Would you like to download a short version of these instructions?
You can find a PDF version in this gallery: User tips as PDF
Has your photographer asked you to use color flags on pictures in your gallery to let her know which ones are your favorites? Then the following instructions will help you to understand how you can use color flags in picdrop.
You can use the color flags to mark images that you consider to be finished, for example, with the color “green”. Or you can mark images in “orange” if there are still changes to be made. The name of the color flag can give you an indication of what you can use a particular color flag for. You should discuss the exact use with your photographer.
It is also important to know that each image can only be marked with one color at a time.
How do I use the color flags?
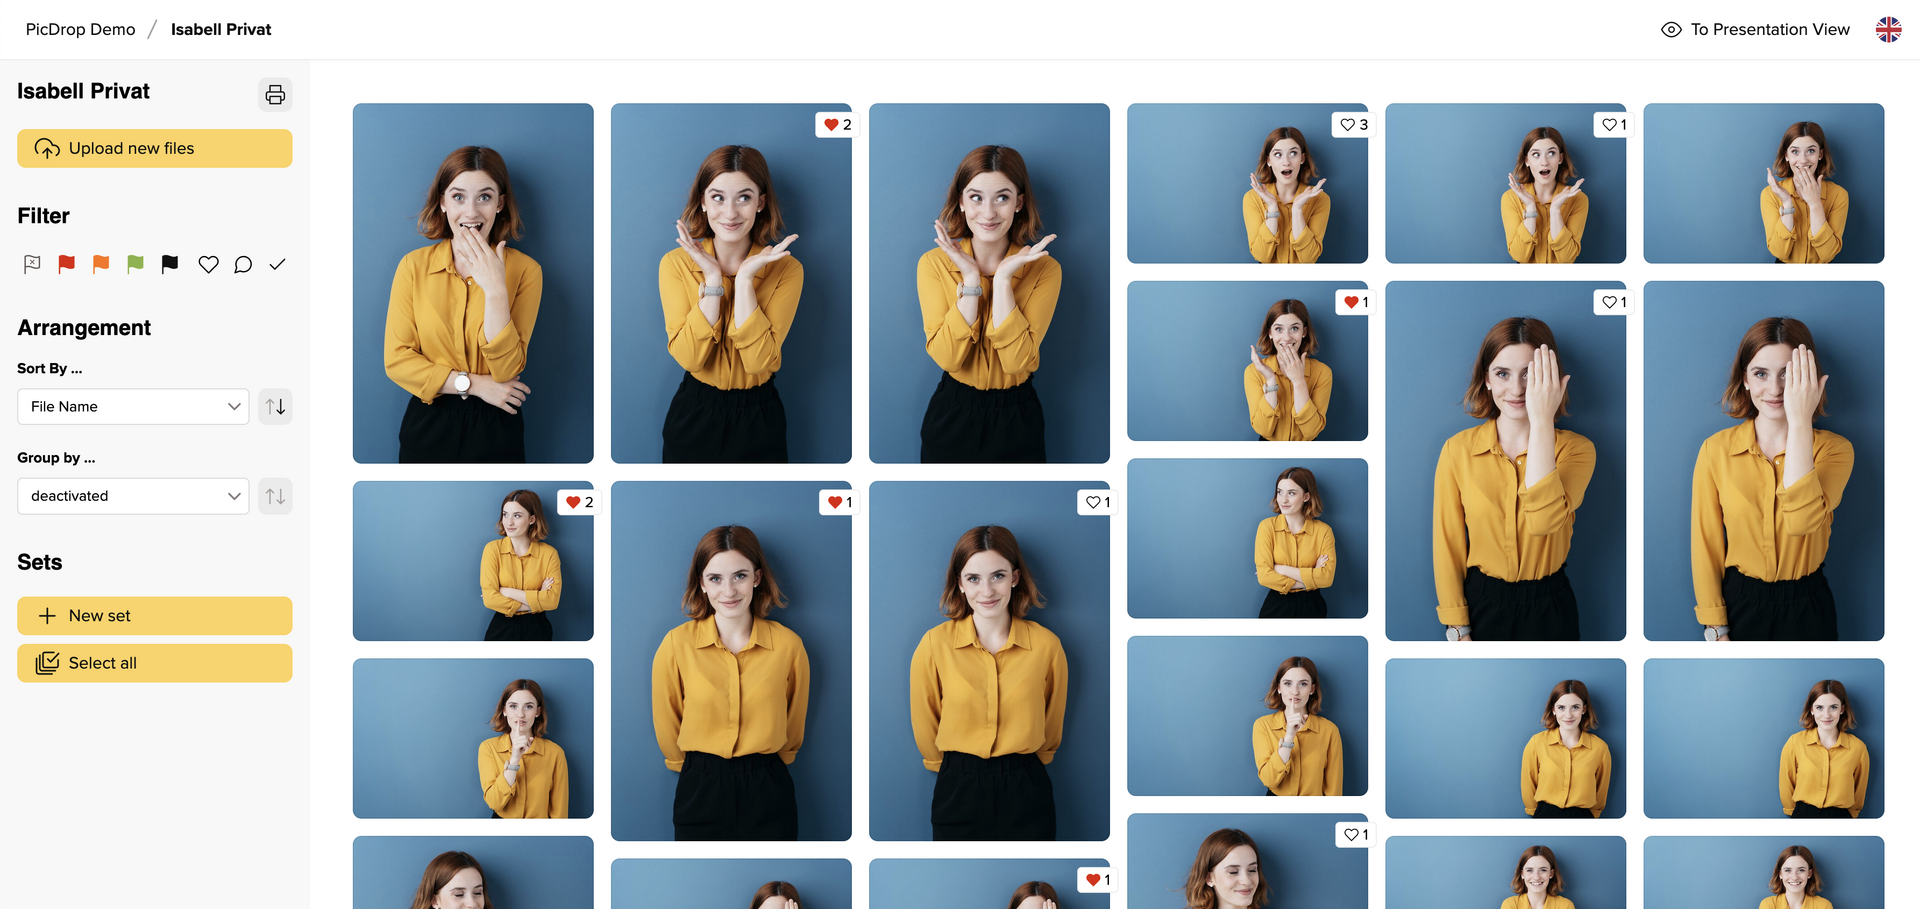
01 - Open the gallery
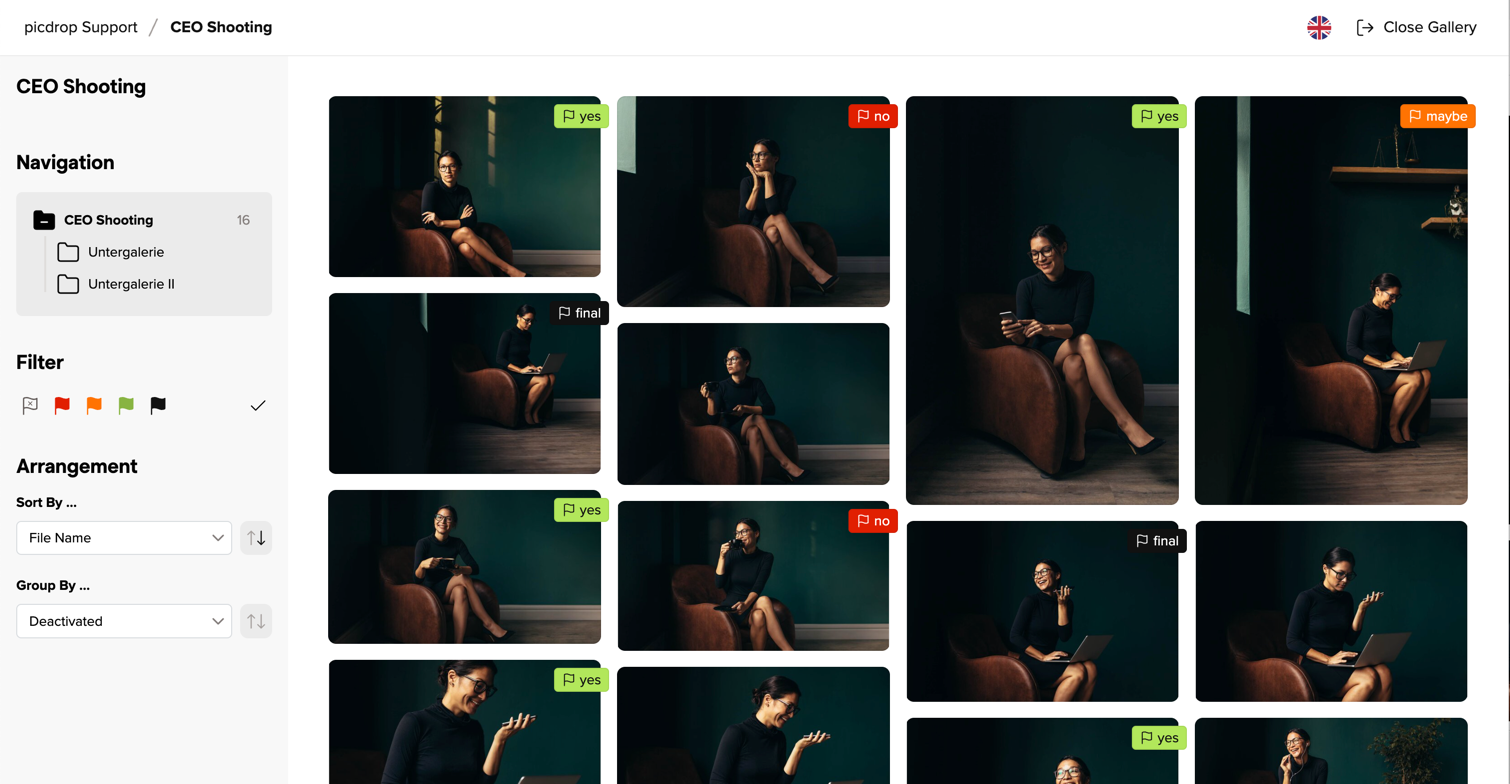
Your gallery should look like the screenshot so that you can get started straight away.If your gallery starts with a screen-filling header image, click once on “To Edit Mode" to start with the color flags.
02 - Setting color flags
You will find the color flags at the top right of each image.
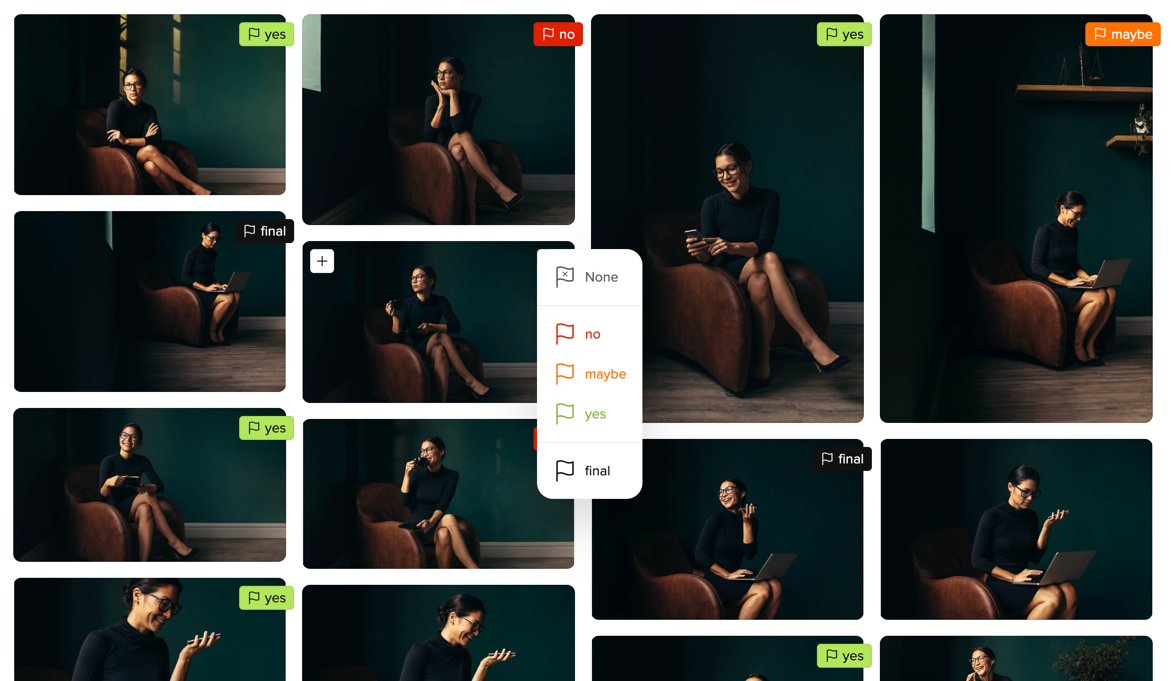
If you move the mouse over an image in the gallery, the flag symbol for the color flags appears in the top right-hand corner. Click on it to open the menu to then select the color. You will then see the color flag attached directly to the image.
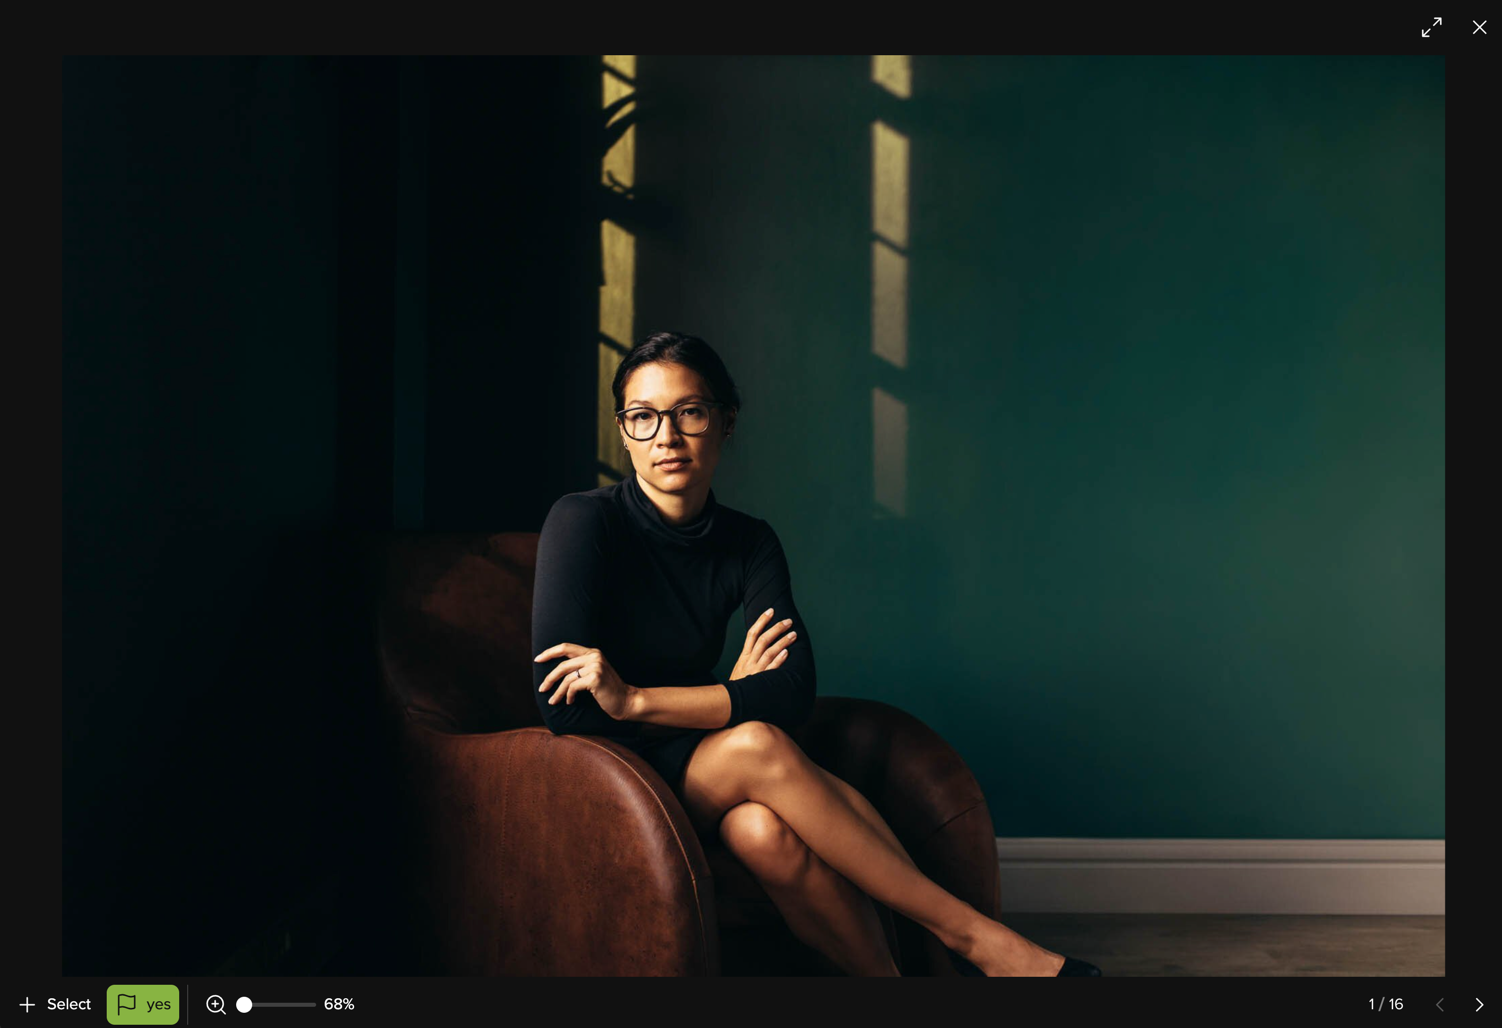
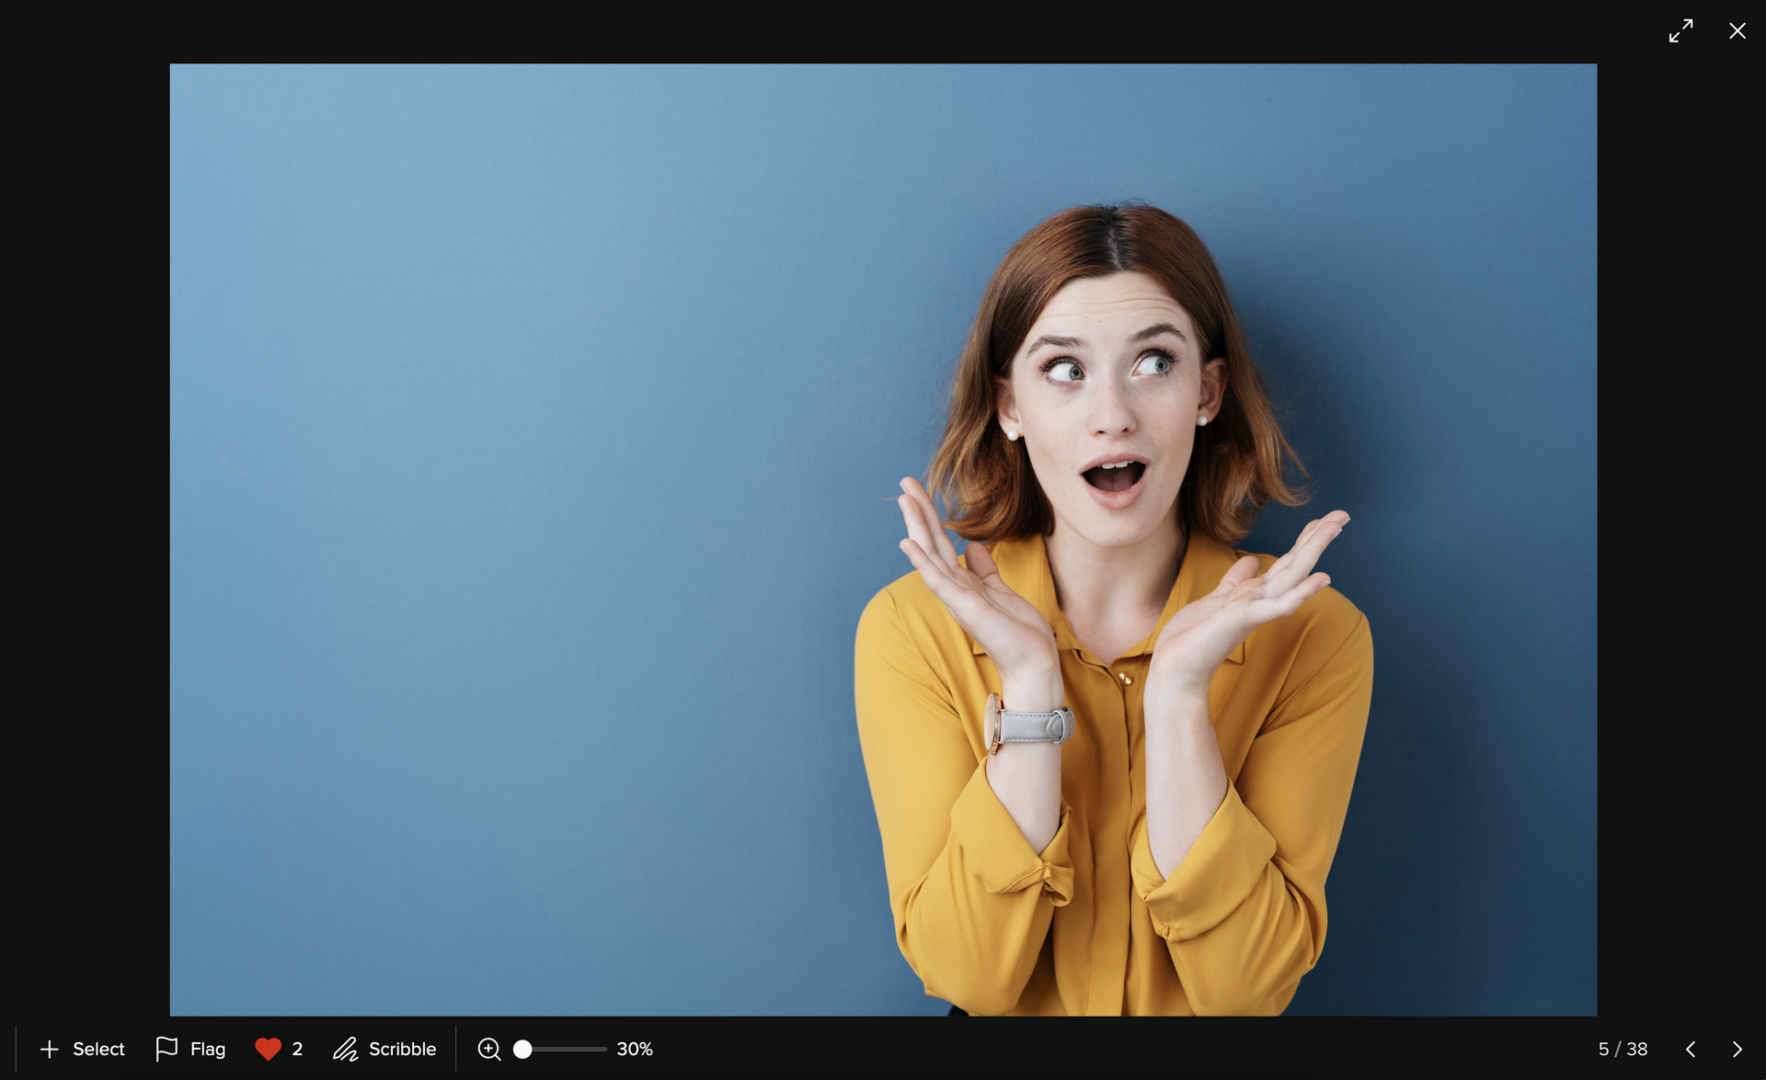
You can also set a color flag in the large single image view.
By the way, you don't have to save the color flags. Your photographer will receive an e-mail from us to keep them up to date with any changes to the gallery whenever changes are made.
We hope these instructions have helped you to find your way around picdrop. If you have any questions, you can always contact your photographer or us at hello@picdrop.com
Has your photographer asked you to create a set in your gallery?
The following step-by-step guide will explain how to create a set in picdrop.
How do I create a set?
01 – Open gallery
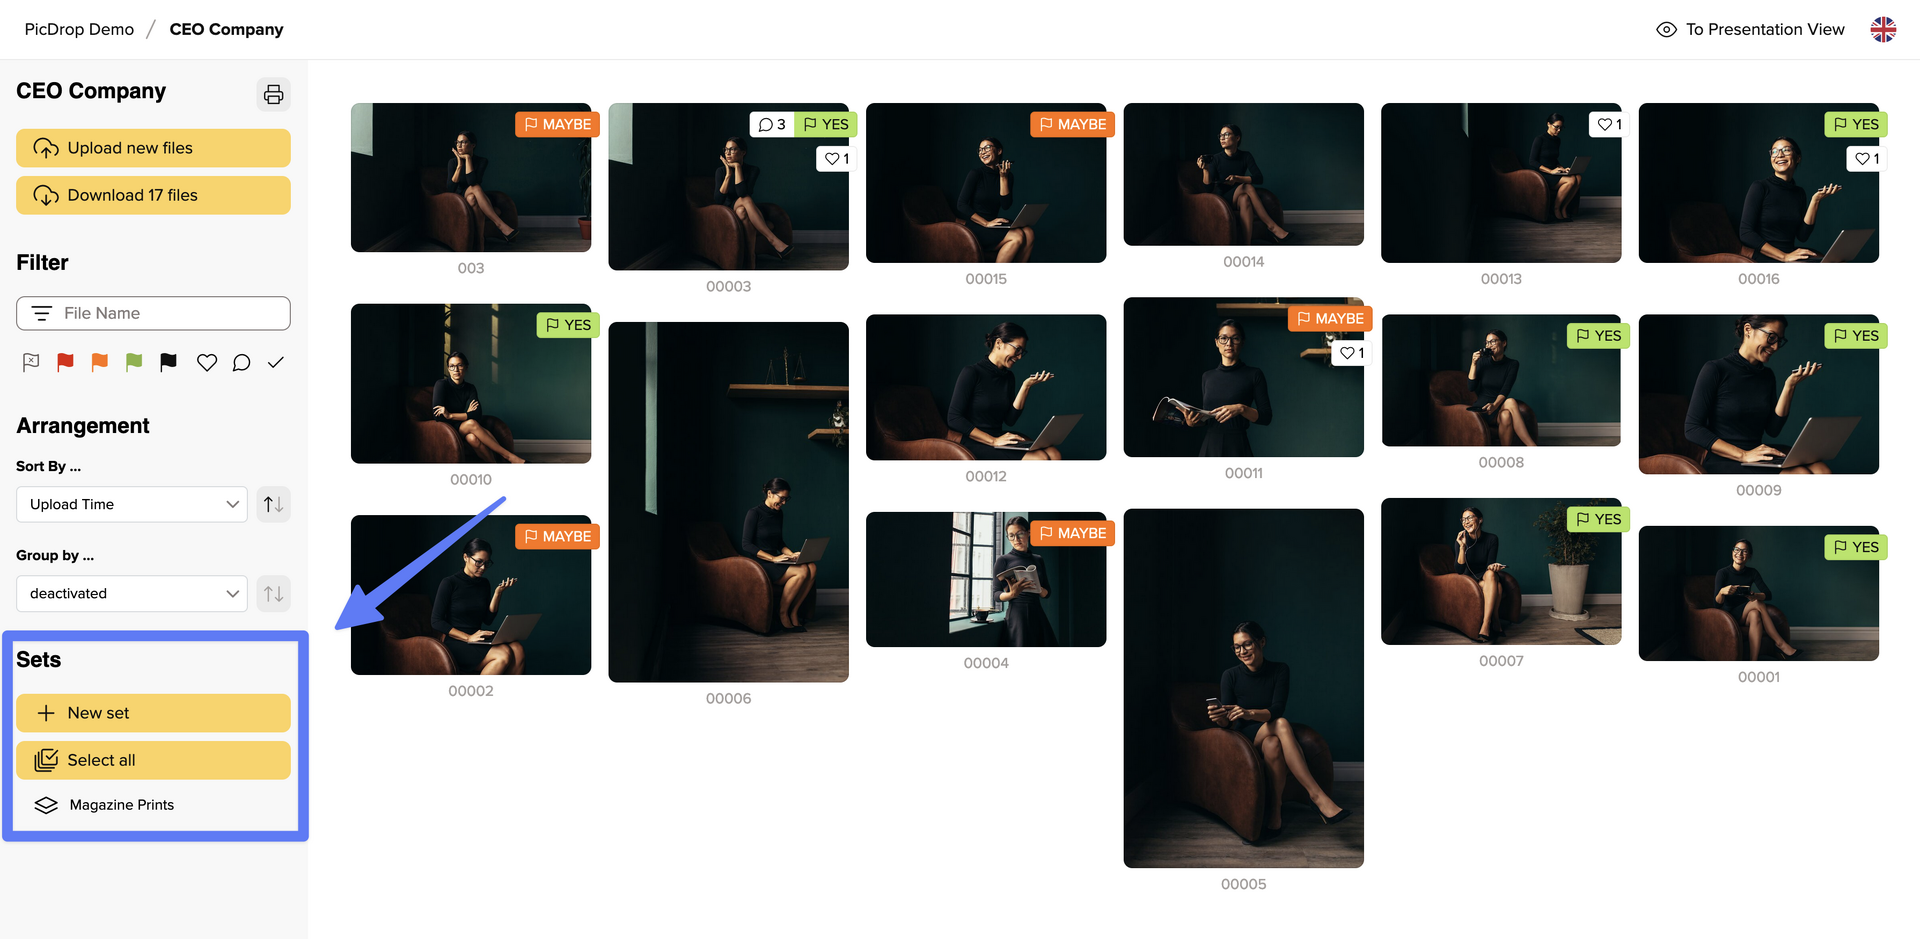
Your gallery should look like the screenshot so that you can get started straight away.
If your gallery starts with a screen-filling header image, click on the "To Edit Mode" button to start with your selection.
02 – Select images
To start with the selection, click on the "New set" button in the sidebar on the left or simply click directly on the blue plus sign at the top left of each image.
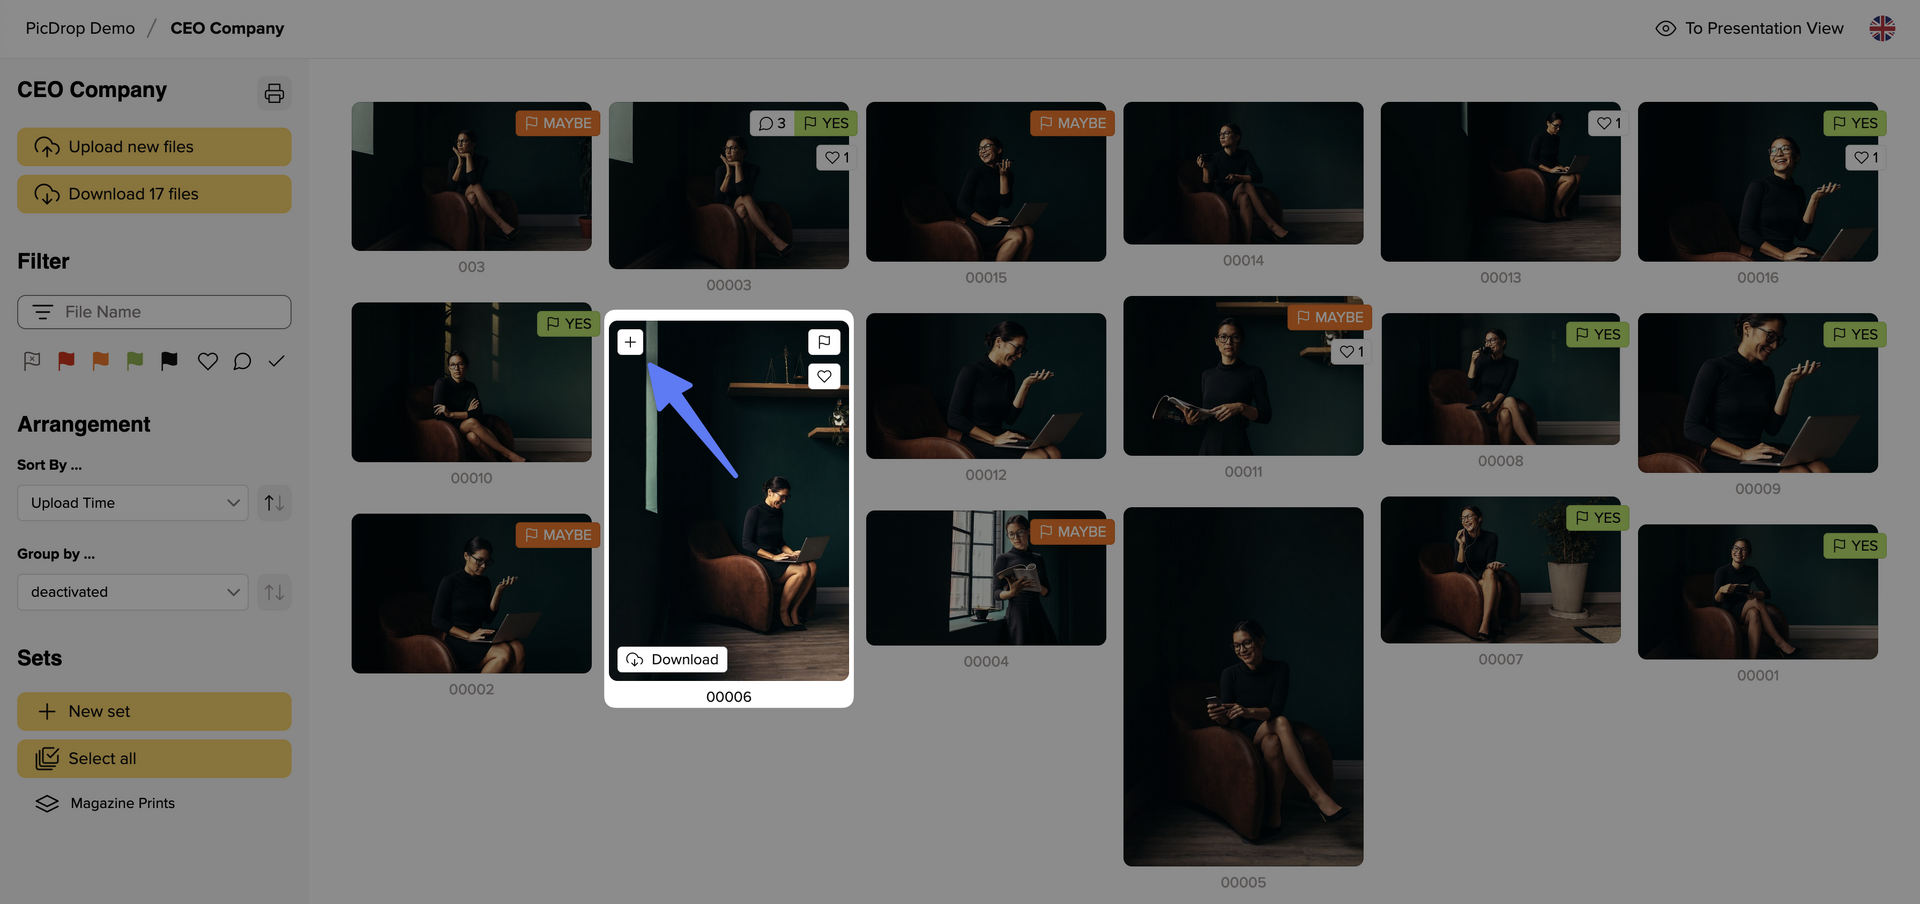
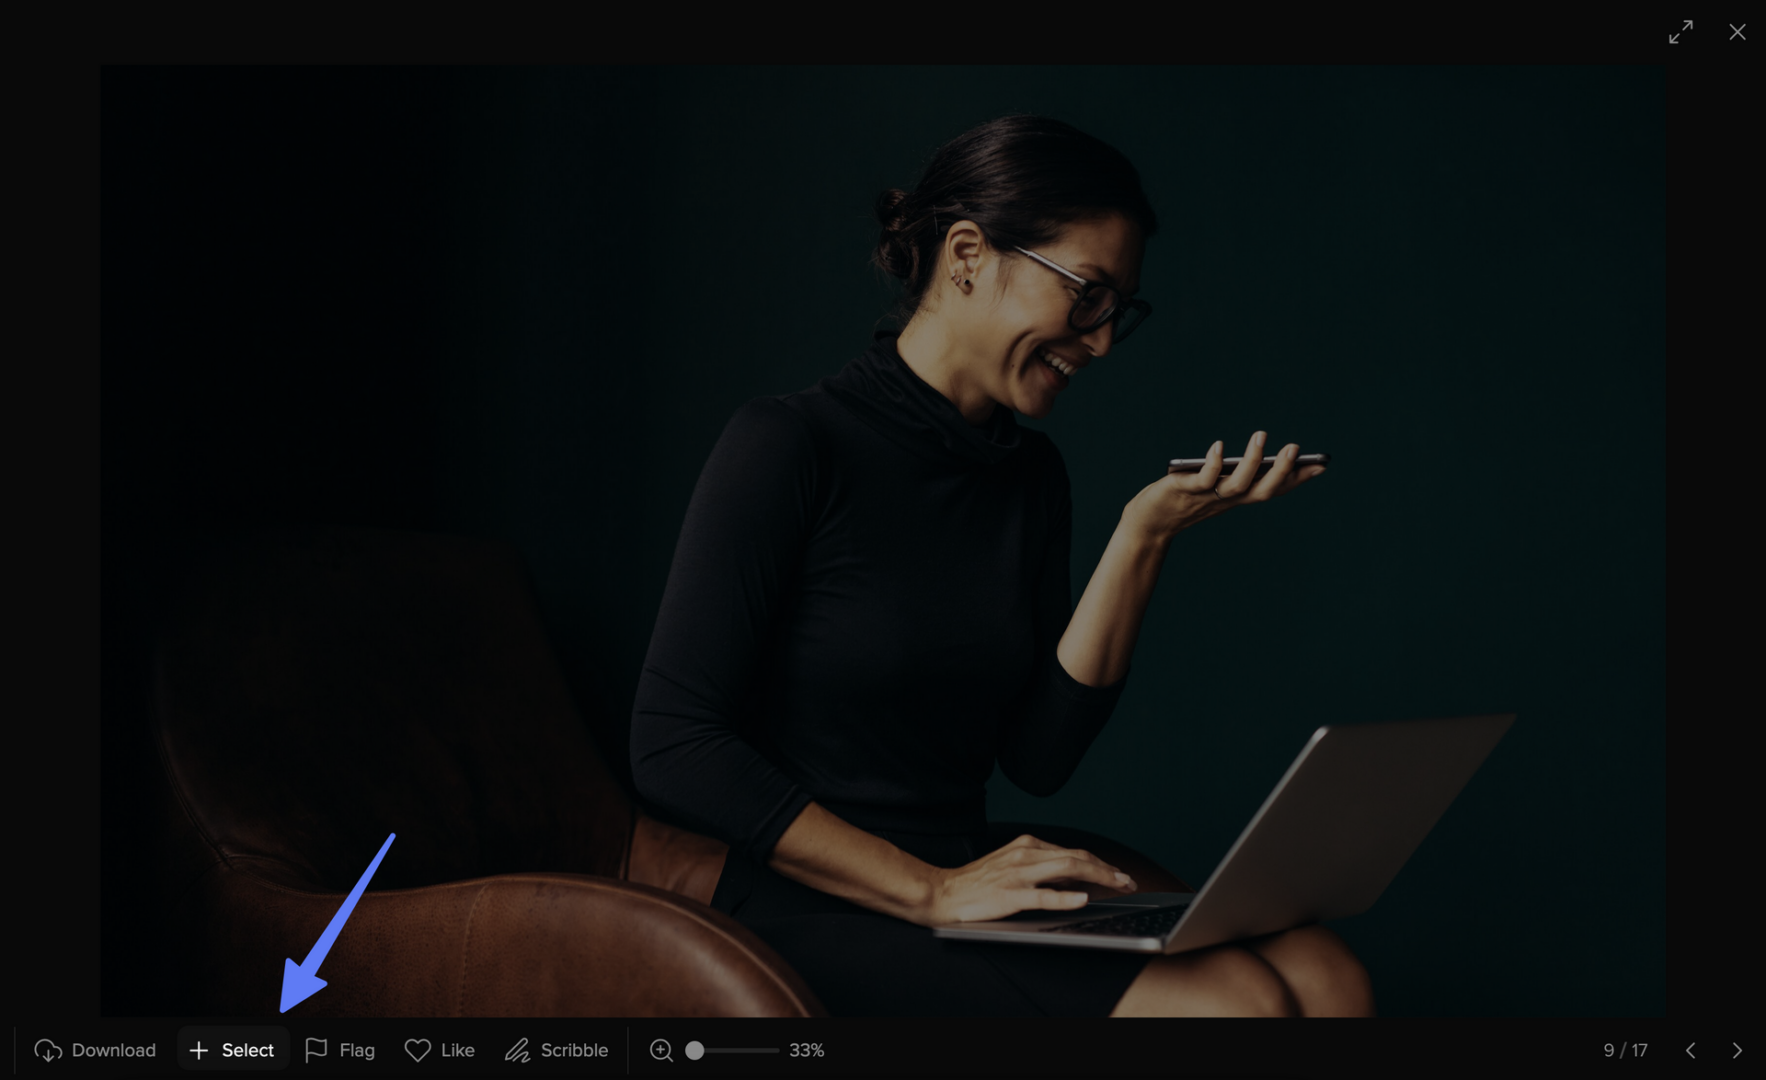
Alternatively, you can also click directly on the image to open the large single image view and select the image there by clicking on "+ Select".
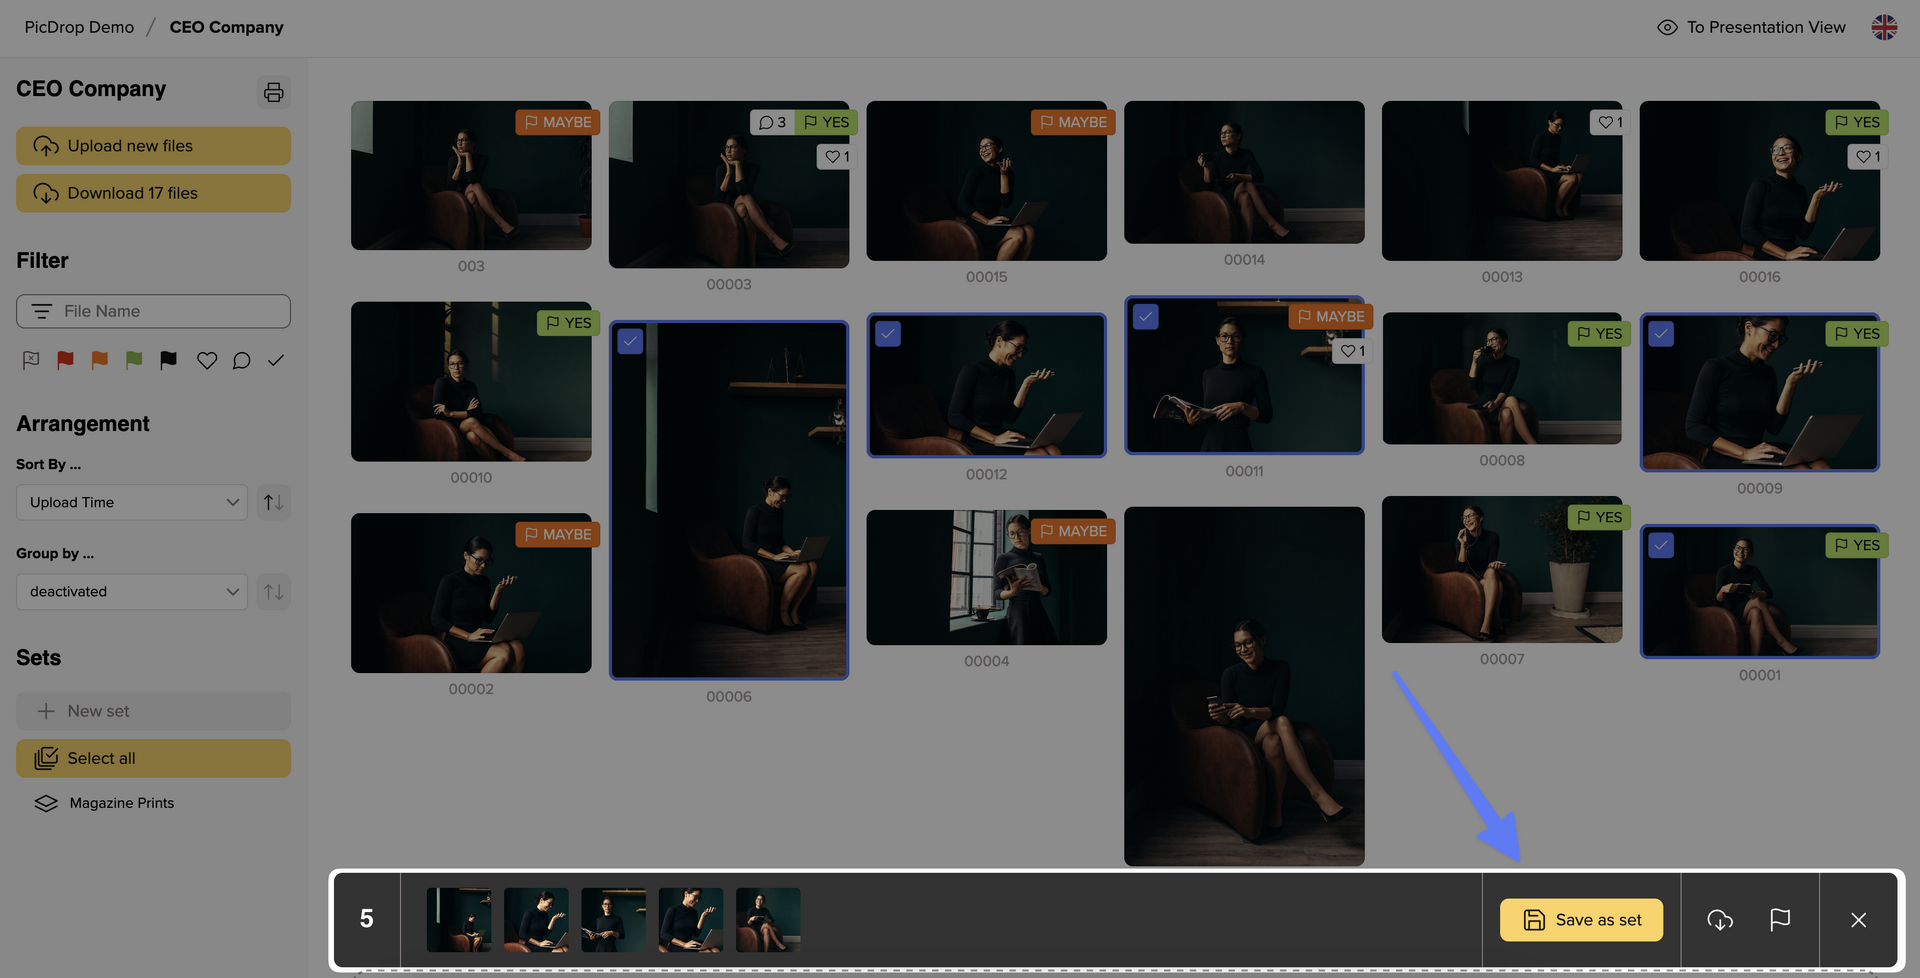
If you then close the single image view again and are back in the gallery, you will see your selected images in the bar at the bottom. There you will also find the information how many images are currently included in your set.
03 – Don't forget to save your set
Once you have selected all your favorite images, it is essential to save them. To do so, click on "Save as set” at the bottom right, as shown in screenshot:
A pop-up menu will then open to save, name and send your set:
Now choose a unique title for the set. After saving, the title will be visible to all gallery visitors in the sidebar on the left.
Please also leave your name and e-mail address so that the set can be clearly assigned to you by your photographer. If you like, you can also send a message along with the set. Finally, click on "Save & Send". We will then send your photographer a confirmation e-mail with all the information about the newly saved set.
Please note that you can also create multiple sets and that other gallery visitors may also do so.
04 – Display and correct sets
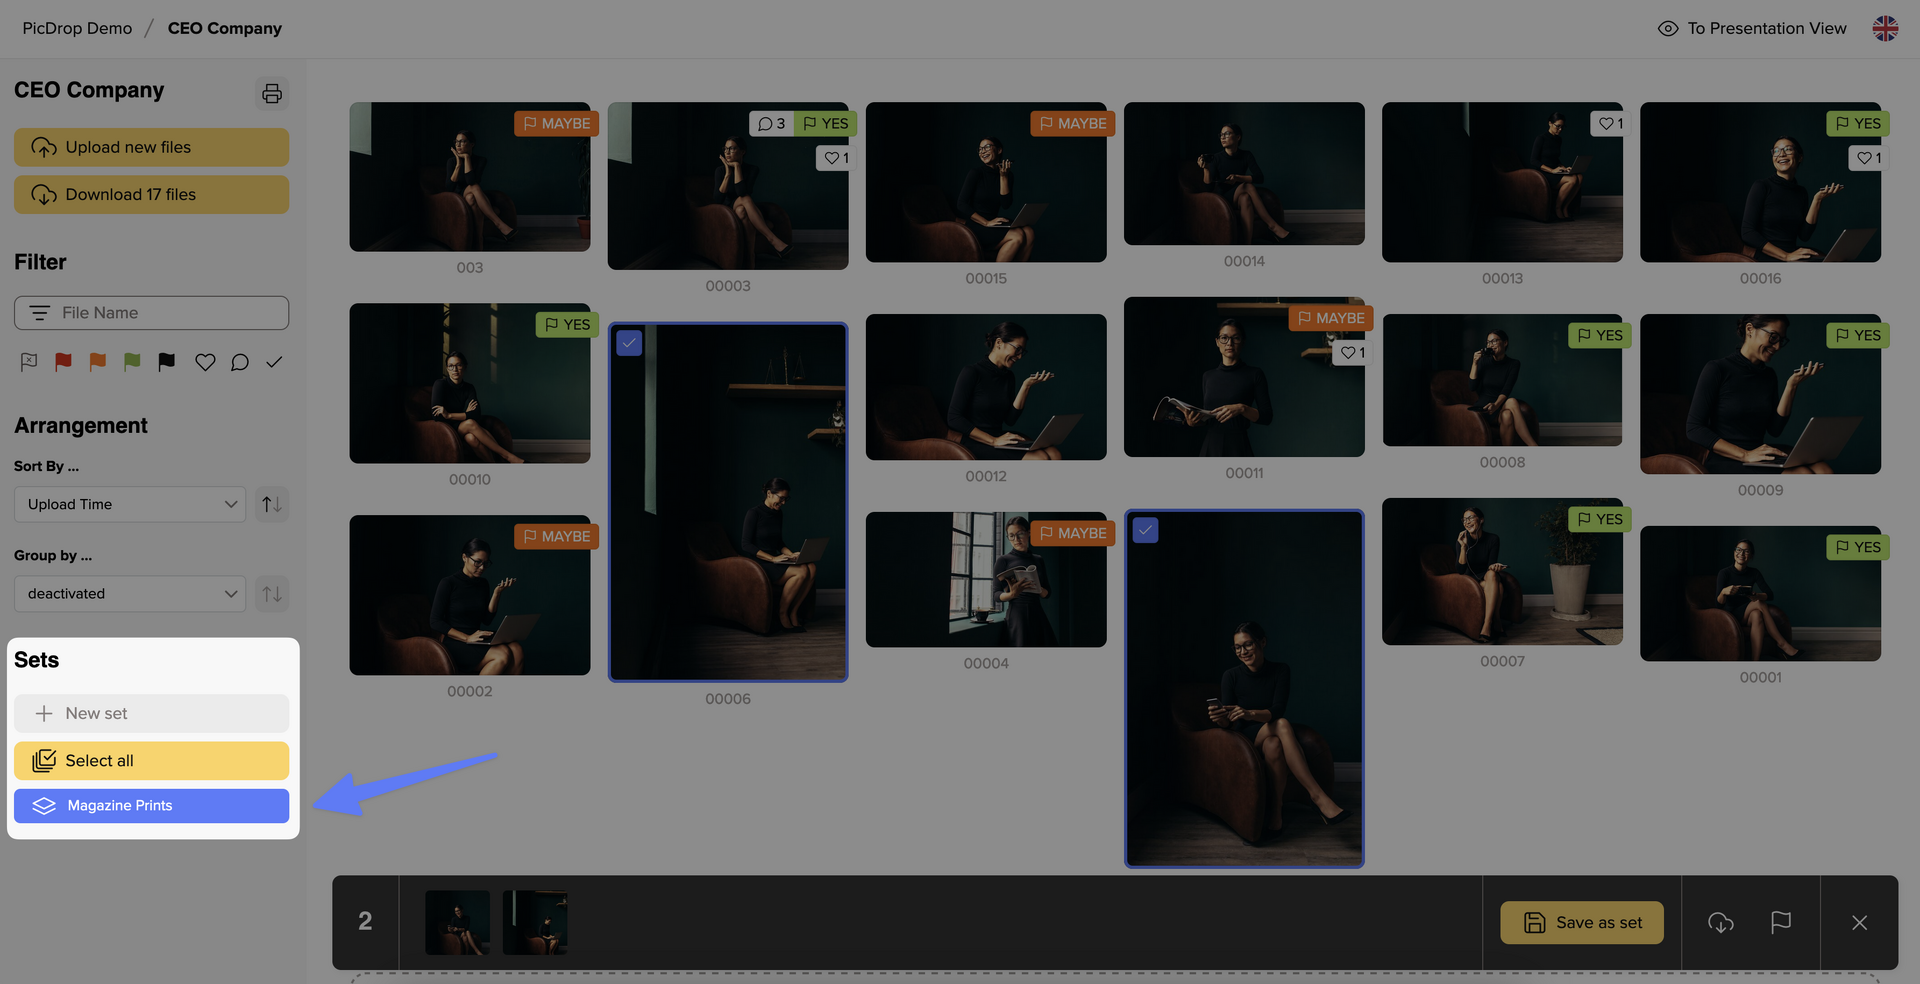
Once you have created your set, you will find it in the left sidebar of the gallery. Click on it to display the images you have selected.
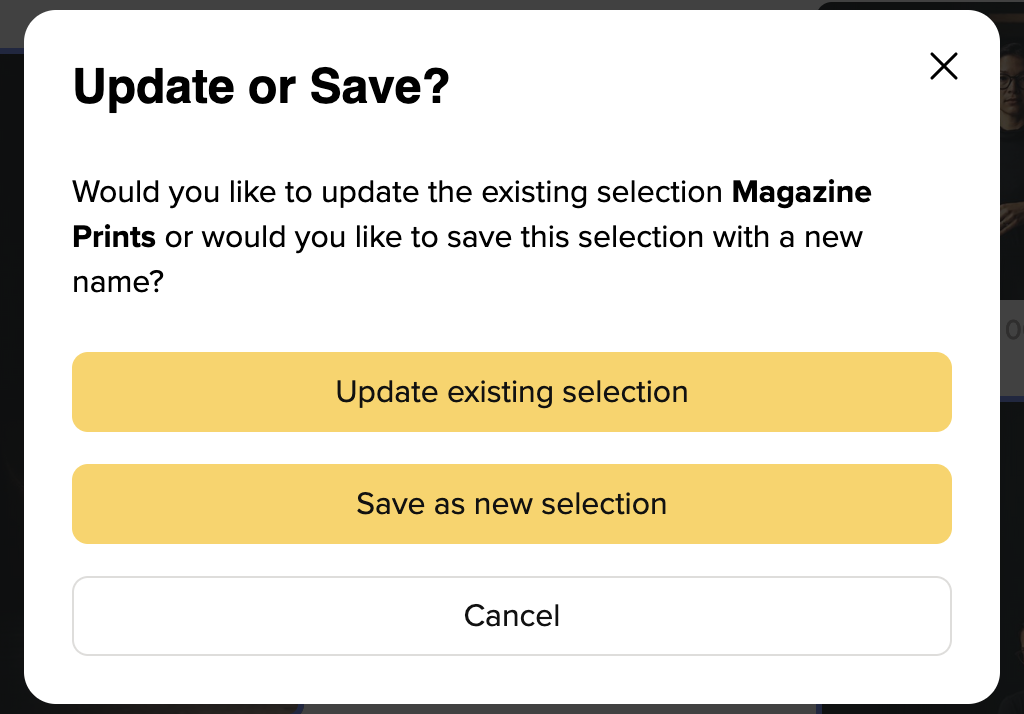
You can of course also make changes to your set later. To do so, add a new image to the set and then click on "Save as set" again. You will now be asked whether you want to update the existing set or save a new one.
We hope this guide has helped you finding your way around picdrop. If you have any questions, you can always contact your photographer or us at hello@picdrop.com
Has your photographer asked you to vote for images with our Like feature? Then the following instructions will help you on how to create likes in picdrop.
Likes are great if you want several people to vote on pictures and find common ground. They are also super easy for you to use, almost like on social media.
How do I use Likes?
01 – Open gallery
Your gallery should look like the screenshot so that you can get started right away.
If your gallery starts with a screen-filling header image, click once on "To Edit Mode" to start with your likes.
02 – Add Likes
A small heart symbol appears on each picture when you move the mouse over it.

Simply click on the heart for your favorites.
This allows the photographer to quickly find out which pictures are favored by the most people and are the most popular. You can also give and see your likes under each image in the large single image view.
You don't need to save your likes separately.
03 – Remove Likes
To remove a like, simply click the heart icon a second time so that it becomes blank again. Please note that, even as the gallery owner, you can only remove your own likes.
We hope these instructions have helped you find your way around picdrop. If you have any questions, you can always contact your photographer or us at hello@picdrop.com